Taking pictures is something I have always had a passion for. Many people underestimate the artistic value of photographs. I am not an artist in the sense that I cannot draw, but I can take pictures. Photography as a hobby began when I wanted to capture memories of my friends and family. Now, I treasure the times that I can remember because of the pictures I have taken. I see how my friends have grown and changed and cherish the fun times we had. Through this blog, I hope to share how to purchase a camera according to your needs, take great pictures, and organize your archives.
Buying a Camera
Many buyers get stuck on how to shop for the right type of camera. One site I have found very helpful when shopping for different camera models is:
http://www.dpreview.com/reviews/sidebyside.asp. This website offers side-by-side comparisons between many different digital camera makes and models. I use it each time I consider buying a new camera.
Before you make a comparison chart, you need to analyze your needs. Do you want to take pictures of people or nature? Are you more interested in portability or quality? Not all these questions involve complete trade offs. After a certain point, having a 15 megapixel photo won't matter when you only want to upload pictures to your social media site. Ask the experts at local electronic specialty stores and do your research.
Taking PicturesTaking photographs is a great way to get the creative juices flowing. The more photographs you take, the more you learn about photography. I have always enjoyed documenting moments with my friends or beautiful nature scenes. For tips from Kodak on how to take great pictures see
this link.
The important thing to take away from these tips is that practice makes perfect. You will not master each lesson of photography on your first try. Get out there and keep trying, though, and your efforts will be rewarded.
There are a few different file formats that pictures can be saved under. BMP stands for Bitmap, where no compression takes place. GIF is "Graphical Interchange File," which throws out color depth but no pixels are deleted in compression. JPG, or JPEG as some pronounce, stands for "Joint Photographic Experts Group." It is a very commonly found format for pictures and uses lossy compression but only deletes data that the human eye is not likely to pick up. The group studies human eyesight patterns to decide which data should be removed from the picture. Finally, PNG or "Portable Network Graphics" uses lossless compression.
Organization
Once you take photos, you have to find a way to organize them. Each person will have their own unique organization method. Personally, I organize by milestones. In high school, I would label folders: Freshman, Sophomore, Junior, and Senior Year. Now, in college, I use a semester timeline.
Having thousands of pictures is useless unless you can easily find them. Your own supply of pictures gives you original material to use in presentations, without worrying about copyright violation. You take the picture, you own it (assuming you do not take a picture of copyrighted material).
Taking pictures takes up computer space, and trust me...I know. Luckily, there are ways to save space and keep your valuable memories. You can compress your pictures or store them on an external storage device. There are two forms of compression: lossy and lossless. Lossy compression discards some data while it compresses the graphic. Usually the data deleted is negligible to the human eye, but over time and after multiple saves, noticeable changes begin to appear. Lossy compression is beneficial when you intend to share the picture, through a medium such as the Internet. The other form of compression is lossless. Lossless compression does not throw data away from the photograph. For this reason, lossless compression is best for archiving your pictures as you organize them or editing your original photos. Another way to save space on your computer is to use an external storage device, like a hard drive, to store your photos. This is an easy way to back up your pictures and also is a great idea to keep a backup of your pictures in case your computer's hard drive is damaged.
I currently own a Canon SD1400. I would like to conclude with some of my favorite photographs:
Navy Pier Ferris Wheel. Chicago, IL
My cat, Roxy
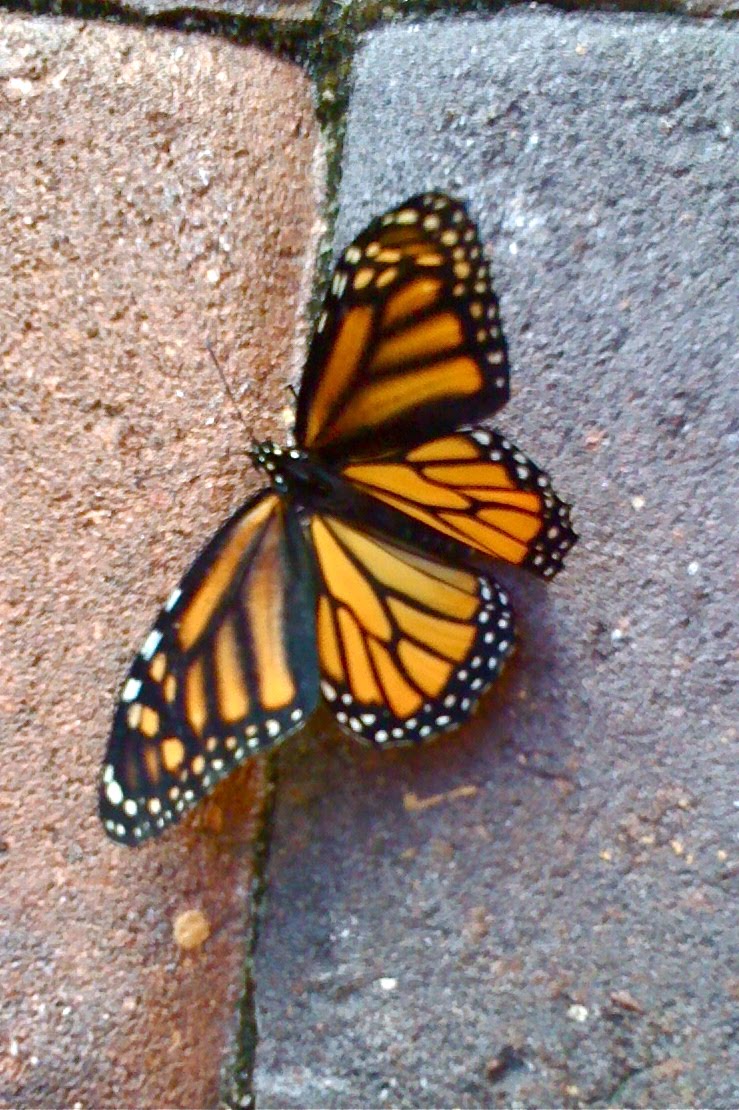
Monarch Butterfly
Saint Barthelemy, French West Indies
Caspersen Beach, Venice, FL
Ladybug
Photos: Amanda Basnight Copyright 2011


